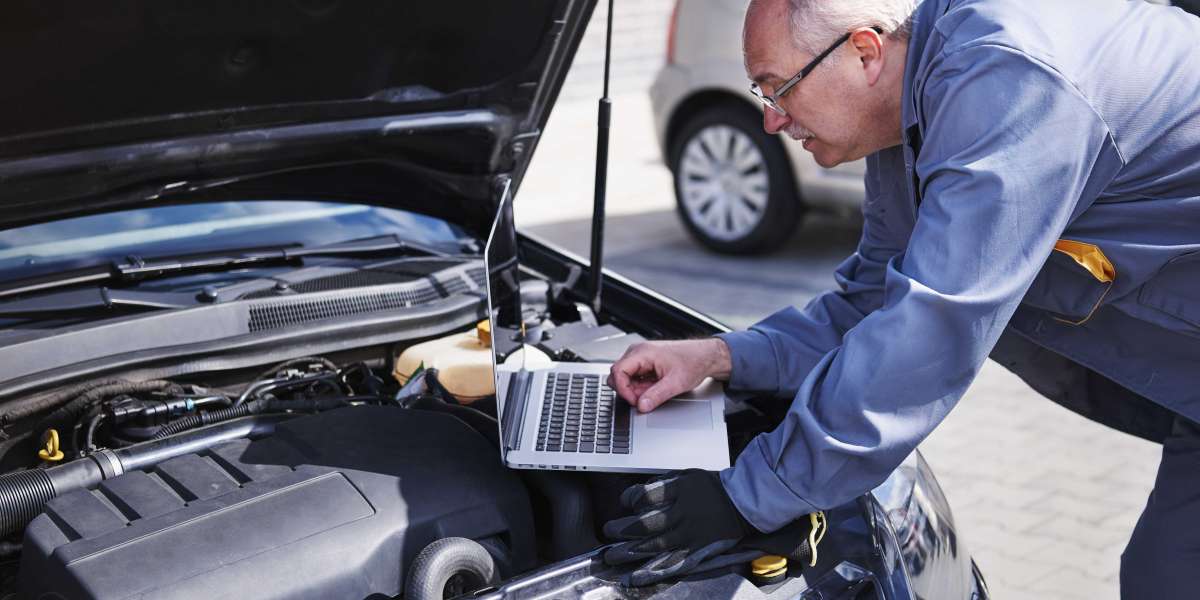
Range Rovers are the epitome of luxury and off-road capability, known for their blend of opulence and rugged performance. However, like any vehicle, they are not immune to issues. One common problem that can vex Range Rover owners is the mysterious and often persistent leak. Whether it’s oil, coolant, or even water, these leaks can be a cause for concern. In this blog, we will delve into the nuances of Range Rover leak repair, providing insights into why these leaks occur and how to effectively address them.
The Anatomy of a Range Rover Leak
Understanding the source of a leak is the first step in addressing it. Range Rovers, with their complex engineering and multitude of systems, can experience leaks from various places. Here are some common culprits:
1. Engine Oil Leaks
Engine oil leaks in Range Rovers can stem from a variety of sources, including the oil pan gasket, valve cover gasket, or even the oil filter housing. These leaks are typically identified by oil spots under the vehicle and a low oil level warning on the dashboard.
2. Coolant Leaks
Coolant leaks are another frequent issue. They can originate from the radiator, hoses, water pump, or even the head gasket. Symptoms include puddles of coolant under the car, an overheating engine, and a sweet smell emanating from the vehicle.
3. Transmission Fluid Leaks
Transmission fluid leaks can be particularly problematic as they can affect the vehicle’s shifting performance. These leaks often occur at the transmission pan gasket or seals and are identified by reddish fluid spots on the ground.
4. Water Leaks
Water leaks are less common but can occur around the sunroof, door seals, or the windshield. These leaks can lead to interior damage and mold growth if not addressed promptly.
Diagnosing the Leak
Before diving into repairs, accurate diagnosis is crucial. Here’s a step-by-step guide to diagnosing a leak in your Range Rover:
1. Visual Inspection
Start with a thorough visual inspection. Look under the vehicle for any obvious signs of fluid. Identify the color and consistency of the fluid to narrow down the source. Oil is typically brown or black, coolant is green or orange, and transmission fluid is reddish.
2. Check Fluid Levels
Check the levels of oil, coolant, and transmission fluid. Low levels can confirm a leak and help you pinpoint the affected system.
3. Use UV Dye
For more elusive leaks, UV dye can be added to the suspected fluid. After running the engine, use a UV light to spot the dye, which will highlight the leak’s origin.
4. Pressure Test
A cooling system pressure test can help identify coolant leaks. By pressurizing the system, you can observe where the coolant is escaping.
Repairing the Leak
Once the source of the leak is identified, the next step is to repair it. Here’s a guide to repairing the most common leaks in Range Rovers:
1. Oil Leak Repair
Oil leaks often require replacing gaskets or seals. Here’s a general approach:
Oil Pan Gasket: Drain the oil, remove the oil pan, clean the mating surfaces, and install a new gasket.
Valve Cover Gasket: Remove the valve cover, clean the surfaces, and replace the gasket.
Oil Filter Housing: Replace the O-rings or gaskets associated with the oil filter housing.
2. Coolant Leak Repair
Coolant leaks might necessitate replacing hoses, radiators, or water pumps:
Hoses: Inspect and replace any cracked or brittle hoses.
Radiator: If the radiator is leaking, it might need to be repaired or replaced.
Water Pump: A leaking water pump often requires a replacement.
3. Transmission Fluid Leak Repair
Transmission fluid leaks generally involve replacing seals or gaskets:
Pan Gasket: Remove the transmission pan, replace the gasket, and reinstall.
Seals: For leaks at the input or output shaft, the respective seals need to be replaced.
4. Water Leak Repair
Water leaks require addressing seals or drainage issues:
Sunroof Drains: Clear any blockages in the sunroof drains.
Door Seals: Replace worn or damaged door seals.
Windshield Seals: Re-seal the windshield if it’s leaking.
Preventive Measures
While addressing leaks as they occur is essential, preventive measures can save time and money in the long run. Here are some tips to keep your Range Rover leak-free:
1. Regular Maintenance
Stick to a regular maintenance schedule. Regular oil changes, coolant flushes, and transmission services can help detect and prevent leaks early.
2. Inspect Seals and Gaskets
Periodically inspect all seals and gaskets for wear and tear. Replace them proactively to prevent leaks.
3. Use Quality Parts
Always use high-quality parts and fluids. Cheap or incompatible parts can lead to premature failures and leaks.
4. Proper Storage
Store your Range Rover in a garage or covered area to protect it from extreme weather conditions that can degrade seals and gaskets.
When to Seek Professional Help
While some leak repairs can be handled by a competent DIYer, others require professional expertise. Here’s when you should consider taking your Range Rover to a certified mechanic:
1. Complex Leaks
If the leak source is difficult to identify or requires extensive disassembly, professional help is advisable.
2. Recurring Leaks
If a leak persists despite multiple repair attempts, a professional can provide a more thorough diagnosis and repair.
3. Warranty Coverage
If your Range Rover is still under warranty, professional repairs may be required to maintain coverage.
4. Safety Concerns
Leaks involving brakes, fuel, or steering components should always be handled by professionals due to the safety risks involved.
Conclusion
Understanding and repairing leaks in your Range Rover is crucial to maintaining its performance and longevity. While leaks can be frustrating, identifying the source and addressing it promptly can prevent further damage and costly repairs. By following the diagnostic and repair steps outlined in this guide, you can keep your Range Rover in top shape and enjoy the luxury and capability it offers without the worry of leaks. Whether you tackle the repairs yourself or seek professional assistance, taking action early is key to preserving your investment in this iconic vehicle.


