Introduction
Bats have gotten the personalities of millions of people generally speaking all through the long haul. These winged creatures of the night are commonly used in Halloween imagery or seen flying around unpleasant castles in films. No matter what this standing, they can every now and again be truly delightful, in reality, and numerous people love the presence of these winged rodents!
Note: After learning this tutorial visit more Line Drawing Tutorial
If you're one of the huge quantities of bat fans in the world, you could probably need to sort out some way to draw a bat. Given that this is valid, you're impeccably situated! We simplified this undertaking by-step guide on the most capable technique to draw in a bat 9 basic errands to make drawing a bat horseplay and clear for you to learn.
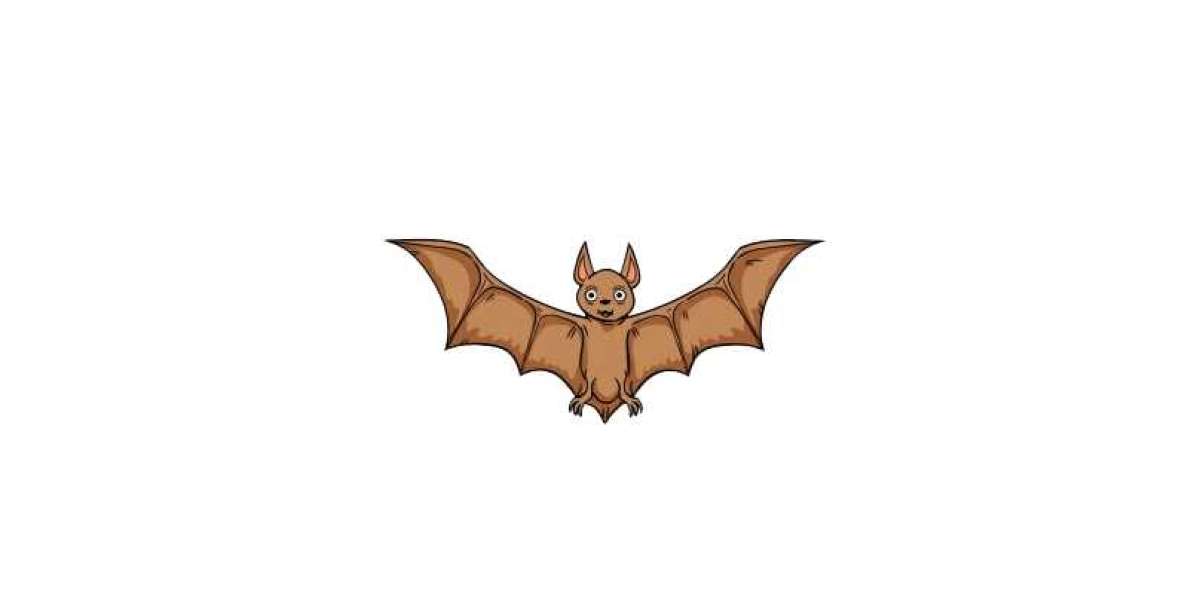
Stage 1 - bat drawing
For the most imperative stage in sorting out some way to draw a bat, we will kick off a little circle. The circle needn't bother with to be perfect, and including an imperceptibly broken down line for your circle will make your bat look to some degree shaggy. Make sure to leave a little opening in the circle in a comparable spot as in the reference picture!
Stage 2 - Draw in the bat's ears
At the point when you have the highest point of your bat drawing, you can add the sharp bat ears to it. To do this, fundamentally characterize in two straight limits with two twisted ones sliding from them as you can track down in the image.
Stage 3 - Next, draw in the most noteworthy purpose in the left wing
Since you have the head and ears of your bat drawing, you can start to draw in the chief wing. Following the reference picture will be especially valuable for this stage! Going bit by bit and circumspectly, draw in the edge of the wing as you can see it in the picture. You will use a blend of straight and twisted lines to do this.
It might be a piece dubious, so there's convincing explanation need to rush it! If you're battling with this step, you could draw with a light pencil first before going over it in pen.
Stage 4 - By and by draw in the opposite wing
You've drawn in the essential wing of your bat drawing, so by and by you ought to just make an indistinguishable portrayal of the wing going against the norm side. Basically copy definitively very thing you did in a state of harmony 3 at this point exchanged and you'll have both wing frames rapidly!
Stage 5 - Next you will add the bottoms of the wings
With the housings of the wings pulled in, you can now incorporate the webbed bottoms of the wings. To do this, essentially incorporate a couple of twisted lines between the characteristics of the wing frames as you can track down in the picture. At the point when you have the webbed bits of the wings added, you can incorporate a little line for the lower part of your bat's body.
Stage 6 - Next you will incorporate a couple of legs
You've almost finished your bat drawing at this stage, so for the accompanying two or three stages we will incorporate the last subtleties and several convincing parts. For the sixth push toward this helper on the most capable strategy to draw a bat, we will incorporate the legs of the bat.
Using a couple of exciting lines and concentrates fundamentally draw in the little legs with negligible sharp paws close to the completion of them like you can track down in the picture. At the point when the legs are done, you can draw in a sharp line under them to address the lower part of the wing.
Stage 7 - As of now draw in the bat's face
For this ensuing stage, we will incorporate a beguiling face for your bat drawing. Using circles and a couple of additional humble lines, you can initially add in a really long time for your bat close by a little nose and mouth.
You can eagerly adhere to the picture and endeavor to draw it that way, but you could in like manner get creative with the look and change the appearance of your bat drawing. At the point when the face is drawn in, you can draw in the inside ear part of your bat's ears.
Stage 8 - Incorporate the last nuances
As of now your bat drawing is almost finished! Everything necessary currently is to incorporate a couple of little lines to the endured sensitive bits of the wings to cause it to appear to be like the skin is reached out between the edges of the wings.